Overview

The rotating banner widget allows you to display a banner area in your home screen or any custom view. It displays your uploaded banner images in the same sequence you have set up the banners in the Conference App Builder (CMS).
On each page load, the widget randomly selects a starting banner and then continues with the sequence. Each banner appears for 6 seconds before automatically displaying the next. A banner can be interactive and link to a website.
The timing is set following banner marketing best practices. People are likely to only glance at the ad for a few seconds at most - a general rule is 1-5 seconds. Online articles mention that marketers only have about 2 seconds to win someone over (other articles may discuss as little as 1/3 of a second).
For references, image ads in Instagram stories show 5 seconds.
How to add rotating banner ads
- Log into the Conference App Builder > Design > Home Screens > Edit Home Screen button
- If not already on your home screen, drag the Banners widget from the left side bar onto your home screen where you'd like to display the widget

- Hover over the widget then click the pencil icon to edit

- Move your cursor over the widget and click the Pencil icon to edit
- Click the Add Banner button
- In the dialog, upload a graphic matching the correct dimensions listed above and use the optional features:
- add interactivity and link either to a specific website (use external web link in the ActionBuilder) or link directly to the exhibitor detail view
- set a start and end date/time
- choose a banner background color (the system attempts to select a color on upload)
- Click the Publish button and test
You can drag the rotating banner widget into any custom view. It will display the same ad banners across all custom views where you have placed the widget.
Rotating Banner Image Specifications
- image size 780w x 160h. Ensure any text is legible when the image is viewed at half of its size (zoom out so the image is only 50% of its size - can you still read all the text?)
- png or jpg
- max 250kb (the smaller the better - use tinypng.com to minimize the file size to the smallest possible)
- do not add border outlines
- avoid gradients so the graphic can blend into the background color of the ad space. You can pick that color on image upload for each graphic.
Banner Ad Space Background Color
Banner ad images are displayed within a rectangle where a custom background color can be set to match the ad graphic. That rectangle adjusts to the width of the device so when it is rotated into landscape mode, the empty space on the left and right are filled with the background color.
The app builder automatically pulls the top left pixel of the graphic to set the background color for you. You can click on the Background Color box to manually change the color.

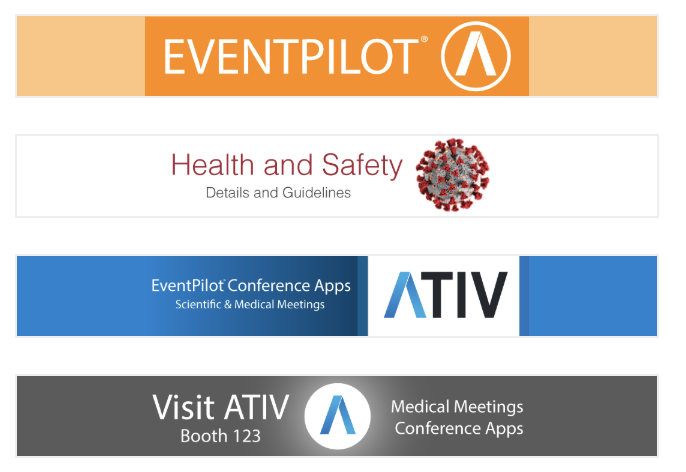
Examples of ads and background color choices. The orange ad on top has a light orange border color which causes the image to no blend very well to the left/right horizontal gaps.
If the automatically added color is black, your graphic had a border. Please remove the border.

Analytics Tracking
Analytics are tracked for logged in users who gave permission as part of the login process. Total impression tracking occurs per user session. This means if the user opens the Home Screen and sees one banner but then stays on the Home Screen and that banner appears again, it is counted as 1 impression. If the user leaves the page for at least on second and then returns back to the home screen and that same banner appears again, it is now counted as a second impression for that user. To count, at least 50% of the ad image is visible to the user.
Note: If using our Targeted Content add-on, note that views are counted AFTER the check on usertype. This means that targeted banners loaded into the widget will only gain a view when the widget is loaded for a logged-in user with the targeted user type.
Important
While you can edit and update an already published rotating banner image, any edits will reset the tracking data. If you already have tracking data you wish to save, first download your banner analytics report before making edits.
Targeted Ads
The EU’s Digital Services Act requires transparency for targeted ads. This means that ads must be labeled as such: Display "Sponsored" or "Advertisement" on the banner itself or as text above or below it. You must also provide information on why it is seen, identify the advertiser, and provide algorithmic transparency.
If you are using Targeted Content for banner ads, include the following statement in the app (Contact your Project Manager if you would like to add it to the App Help page.)
Advertising & Sponsorship Transparency
Some content in this app is sponsored. Sponsored banners are clearly marked with the label “Sponsored” or “Advertisement.”
- Who pays for the ads: Sponsored content is provided by conference partners, exhibitors, or sponsors.
- Why you see certain ads: Some ads may be shown based on your registration details (e.g., attendee type, country/region).
- What data is used: Only event registration data provided by you (such as attendee category or location) may be used for ad targeting. No sensitive personal data (such as health, religion, or political beliefs) is used.
Related Articles
- How to generate event sponsor revenue
- What analytics reports are provided?
- What are the image sizes for the different ads?